I've been working on a few cards, but haven't been good about posting then. Once again I was inspired by Jennifer McGuire. Check out her blog here to learn how it was done. I didn't attempt to take photos, but used what I had available. I used some background dies for the backgrounds, then stamped and die cut the butterflies. The wings pop up when card is removed from envelope. with the help of some acrylic hinges.
.jpg)
.jpg)
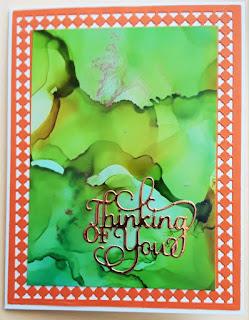
With all the depressing news on TV, I made a card for my neighbor to help us both get through this sad time. I used a variety of dies and a background made with alcohol inks.
.jpg)
.jpg)
.jpg)
.jpg)
.jpg)

.jpg)
.jpg)
.jpg)

.jpg)
.jpg)
.jpg)
.jpg)
.jpg)
.jpg)