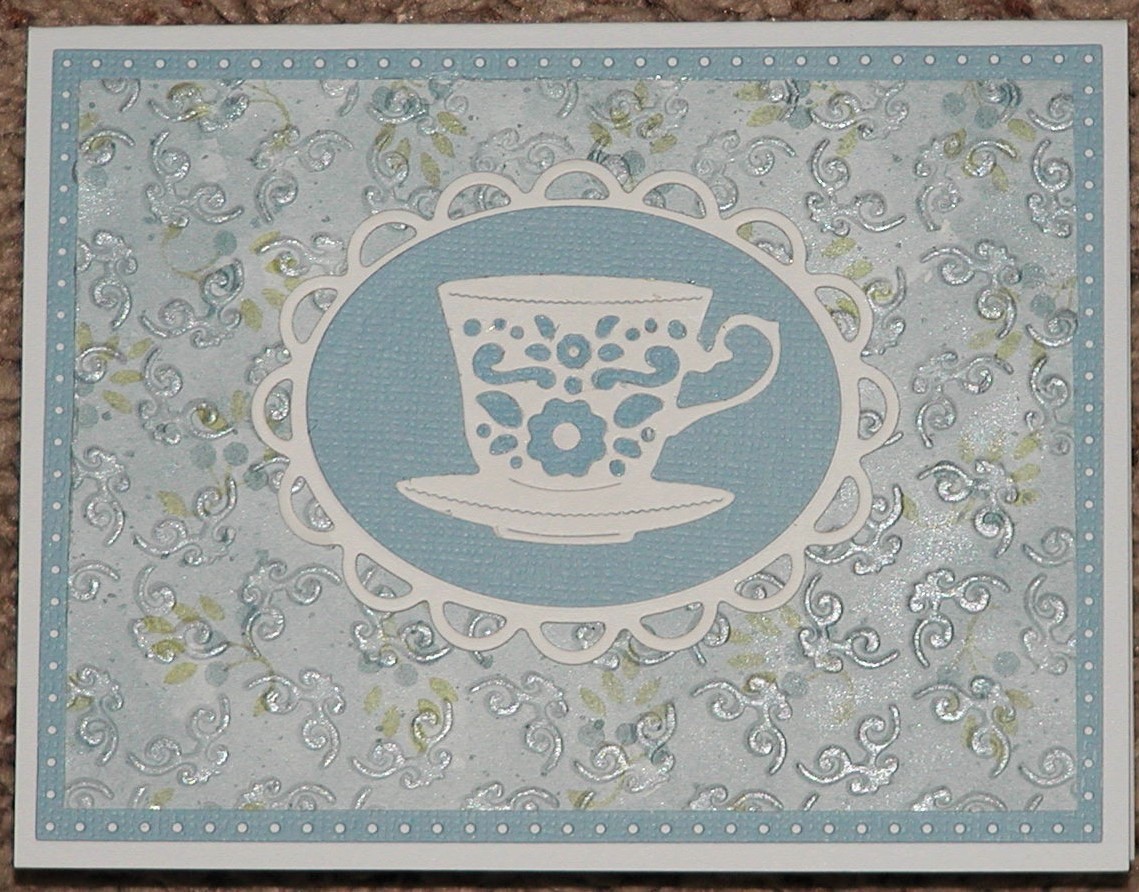
After Christmas, it's time to make thank you cards. I received a darling tea cup die from a friend and decided to use it to make a thank you card. I die cut 2 of them - 1 from blue cardstock and one from white, then used the cut out pieces in the opposite color. This resulted in 2 cards.
I will wait to add a sentiment to the second card, when I decide where it will go. I have more cards to make, but these are finished today.
Sunday, December 30, 2018
Sunday, December 16, 2018
More Christmas cards
After I mailed the cards I had made previously, I decided I needed a few more. This card was made with some new dies and stamps from Taylored Expressions.
Wednesday, December 5, 2018
Christmas cards
I got very late in creating Christmas cards this year. I ordered some new supplies in recent sales and used some of them to create my cards this year. I made them all with the same basic design, but changed the colors of some the cardstock. I used what I had on hand. The background is made with pearlescent cardstock.
The large holly background die is from Taylored Expressions. The sentiment stamp is a very old stamp by Inkadinkadoo, embossed with Chinese Red embossing powder by Ranger. I used Spellbinders dies for the ovals. The holly berries are made with a red Pearl Pen by Viva.
Wednesday, November 28, 2018
Birthday card for man
I always search for new ideas for making a birthday card for my brother. He will be 97 soon and I've made him many cards over the years. I went through some backgrounds that I had made earlier while practicing techniques. Here's the result.

This background was made by brayering ink onto the inside of an embossing folder before embossing the cardstock. I added a layer of glossy copper cardstock before mounting it on a white card base. The sentiment was stamped onto a wooden business card and embossed with copper embossing powder. The corners are stickers.
Friday, November 2, 2018
Thanksgiving cards
It took this oldstamper a long time to make Thanksgiving cards this year, but I think I'm finished.
I took a few close-ups to show the differences in these cards.
These are all shadow box cards. The opening inside was created with a die from Simon Says Stamp, called Far Away Forest Collage. My previous 2 posts showed some of the steps involved in creating these cards. The leaves are glued to the watercolor background. The leaves were cut with a variety of punches and some leaves are popped on dimensional adhesive.
Monday, October 29, 2018
Progressing...
I'm still working on my shadow box Thanksgiving cards. This has been a slow process for this old woman. I'm at the stage of gluing punched leaves to the inside of the shadowbox background.
Saturday, October 20, 2018
Teaser - cards in progress
I'm working on Thanksgiving cards and it's taking a while. Here's some of card parts in progress.
This first part is the watercolor background in progress. The second photo show the coarse salt that is sprinkled over the wet watercolor background.
These are some of the shadow box portions in progress. The second photo shows the card folded on score lines and a finished watercolor background showing through the opening. You can see the spots created after the coarse salt is removed from the dry watercolor paper. It will show better if you click on image to enlarge it.
This first part is the watercolor background in progress. The second photo show the coarse salt that is sprinkled over the wet watercolor background.
These are some of the shadow box portions in progress. The second photo shows the card folded on score lines and a finished watercolor background showing through the opening. You can see the spots created after the coarse salt is removed from the dry watercolor paper. It will show better if you click on image to enlarge it.
Thursday, October 11, 2018
Birthday shadow box card
I made a watercolor background for the inside of the shadow box. I used pearlescent watercolors for this, which a adds a shimmer that goes well with the shiny Bazzill cardstock that I used for the card.
Thursday, September 6, 2018
Inside tunnel card for man
After my failure to create an Inside tunnel card I decided I had to try again to see if I could really do it. This one is for a man who loves his dogs.
Forgive my finger in the photo. I had to hold the card open to get the tunnel effect to show. These are fun to make, but you may need to watch Jennifer McGuire's video several times to understand all the steps. Good luck!
| Front of card |
| Inside of tunnel card |
| Back of card |
Sunday, September 2, 2018
Anniversary card
I needed to make an anniversary card for a special family member. I wanted to do something special for this wonderful couple. I thought I would make an Inside tunnel card. I really tried, but couldn't make it look good, so I reverted to the first step of making and inside shadow box card. I hope to still try the tunnel card, but not this time.

This special couple live in Colorado and enjoy a mountain cabin where the wildflowers bloom and the moose graze in their yard.
Subscribe to:
Posts (Atom)