Saturday, May 3, 2014

Rebel With a Cause challenge

I had already posted a couple of cards made today when I read about the Rebel With a Cause challenge on the Stars & Stamps Blog.  I made 2 more cards using the same technique as the earlier post, but changed them a bit.
photo
scan
These cards look very much alike, but the camera and the scanner make them look different.  That paper is from a container that I had labeled Specialty Paper.  I've hoarded it for many years.  It's time to use it.  There are many varieties of paper in the container.  This one has a quilted look.  The ink is all Brilliance Pearlescent inks.  Background is added with Color Brushes.

Playing with old techniques

As I have been digging through that mountain of old supplies, I found a group of tags that I had left from a convention exchange.
I thought about reusing these tags on cards.  I like the design and the shimmer, but when I tested them I found they wouldn't work of OWH cards.  Some of that shimmer stuff wipes off and shows up on my sleeve.  This is the test for determining if cards are suitable for our deployed troops.  I'm guessing that I used Moonglow, Pearl Ex or Perfect Pearls to obtain this lovely shimmer.

I found suitable supplies and attempted to recreate this design.  I used Brilliance Pearlescent inks and Color Brushes (look like little shaving brushes) for my modern cards.  I used the same unmounted rubber stamp for the dragonflies with Brilliance Pearlescent Jade ink.  I mounted my design on pearlescent green cardstock, then onto a white card base.  I used a Corner Chomper for the rounded corners.


Wednesday, April 30, 2014

Reusing images

While unpacking my old convention memories, I found a group of pins that I had made for trading, but still have them.  I decided to use them to create some new cards.
These were made on watercolor paper with rubber stamps, Marvy markers and a waterbrush.   After stamping the flower pot, I masked it and then added the flowers individually.  The markers were used to add ink to stamp.  After all was stamped, a waterbrush was used to blend the colors.  I think this technique and the stamps were from Art Impressions.  Each image was mounted on a colored layer and a pin back glued in place.  I had to remove the pins to create these cards.


I added the patterned paper and layering, then mounted on a white card base with foam tape.  The birthday sentiment is from a Gina K. set called Birthday Greetings.

Monday, April 28, 2014

Convention memories

Earlier in my card making experience, conventions were very well attended.  People traveled long distances to participate in the convention experience.  One of the things that created these memories was the trading of art pieces.  We made pins, tags, matchbooks, etc. and traded with other card makers.  I enjoyed this process and always had lots to trade.  I displayed some of my 'treasures' in my craft room for inspiration.  I just unpacked these old memories and hung them in my present craft room.  This is an old belt and some chains that I used to display the pins.

Some of my collections didn't make it to the hanging display.  These were tags and matchbook covers, some of them containing goodies like chocolate and suckers.
A lot of these have names on them, some with home town and email address.  I know mine is no longer current and I suspect many others aren't current either.  It is inspirational to look through these memories and hopefully find some mojo in them.  Do you have memories from these fun times?
 
Later, the ATC (Artist Trading Cards) became popular, but I didn't get into that project.  Other memories of those fun times was that I spent way too much money on things that I now have taking up storage space.  The demonstrations always looks so great and I bought things I never used.
 
As I grow older and less able to spend money or do the projects that I had been so excited about in those days, I find myself buried in things that are no longer trendy.  My advice to others.  Think before you buy.  I'm now old fashioned and can't keep up with modern trends.  My eyes and hands don't work like they did when I was younger.  Enjoy your memories because that's what is left after all the excitement has disappeared.


Monday, April 14, 2014

Life goes on

I'm still taking a break from card making.  I've been going through boxes of my supplies that used to be a big part of my life.  Yesterday, I watched a video on Ribbon Embroidery from 1995.  I also located my supplies, and even some partially finished projects.  Does anyone still do Ribbon Embroidery?  It's so pretty, but I'm not sure my arthritic fingers can do it any more.  I have lots of silk ribbon and fabric.  I also have kits that are unopened.

Why or why did I have to buy so much stuff and then lose interest.  I also found some beading supplies and pattern books.

Right now, I'm really involved in watching the eaglets grow up in Decorah, Iowa.  They have a great Eagle Cam.  There is also a lot of info on their Facebook page.   Check them out HERE.  Three little ones are being well cared for by their parents during rainy and snowy weather.
Beware, the eagles are very addictive.  It's the first thing I check in the morning and last before bedtime.  It is such a treat to be able to follow an eagle family as they go about living their lives.

Friday, April 11, 2014

Back to Basics

I've been stuck without mojo for a few weeks.  I decided to go through my old supplies.  I have found a lot of things that I bought when I first started making cards.  Lots of supplies are in my stash.  I also found a box of videos from those days.  Some of these are dated 1999.
My friend and I watched some of these videos yesterday.  One thing we noticed was that there was no patterned paper used.  They made their own designs using ink and cardstock, with very few stamps.  These were the times before embossing folders and dies.  We used plain cardstock and ink, with few stamps.  There were tools that we no long use now.  Many of my supplies have deteriorated from sitting for years unused.

Gingerwood Bulletin Board is encouraging us to use these old supplies and techniques.  We will be having Throwback Thursday events.  There will be no prizes, just a place to be able to share our efforts.  In most challenges, we are encouraged to use the latest supplies.  Those of us who have been making cards for many years have far too much stuff in our stash and need an opportunity to use them and share the results.  You have to register to be a part of this group, but it's free and filled with friendly card makers.  We love to share our knowledge with anyone willing to ask questions.

If I can get motivated, I will try to make some cards using these old techniques.  I even found a few things that I had started and never turned into cards.  I have lots of backgrounds, but here are a few stamped and colored images that got packed away before finishing the project.


These were stamped in white ink on dark cardstock and colored with pencils.  I'll work on turning them into cards.


These were stamped on white cardstock and colored with chalks with chalk blending solution.

I'll see what I can do to use some of my old supplies and techniques.  Stay tuned.

Sunday, March 30, 2014

Archeology Contest

Recently on Gingerwood Bulletin Board, we were challenged to use supplies that we've had for at least 5 years and not used.  I had a lot of this, but gave away some of them.  This are the items I chose to use.
These are Marvy Metallic markers.  I also used the water Mini Mister and black glossy cardstock.  I scribbled the markers onto the black cardstock and misted it with water, both before and after applying.  I also placed a sheet of plastic wrap over the wet ink and smoothed it out a bit, then allowed it dry.  When I removed the plastic wrap, this card appeared.
I stamped the sentiment on the image and embossed with gold embossing powder, then mounted it on glossy gold cardstock and a white card base.

Friday, March 21, 2014

RW&B birthday

I haven't made cards for a while.  The mojo just left me.  I just got a new address for my grandson who has birthday next week, so made a quick card and put it in the mail.  He probably won't get it in time, because he's on the other side of the world.  The gold brads are to represent the brass buttons on his uniform, although his are probably in a straight line.

Saturday, March 8, 2014

Catching up

I spent some time sorting and organizing my craft room after spending time doing yard work.  One finally step was to bring my Ott-Lite floor lamp into craft room from my reading space.  Now, I can see to assemble cards at this counter top high table.
With this new area to work, I decided to create a few personal birthday cards.
This background paper is from the Ombre pad by Colorbok and is shaded from dark to light from bottom to top.  I made this card with top section, but put it in folder backwards, so it's debossed.  I wanted color to show, so I added ink to embossing folder and ran it through again.

This is lower portion of same paper, embossed correctly this time.  The flowers are from containers of Bride's flowers from Michaels.  I chose scraps from my stash to go with the color of flowers.  Tiny brads hold the flowers to card.  Sentiments are gold stickers.

For this card I used a very old brass stencil for sentiment.  I embossed it, then added Krylon gold marker through the stencil.  Both circles are cut with Spellbinder's dies and staggered to create diamonds.  The background paper is from Watercolor pad by Colorbok and is embossed with a Cuttlebug folder with diamonds.  I punched some diamonds to embellish the embossed diamonds.

Sunday, March 2, 2014

Sorting scraps

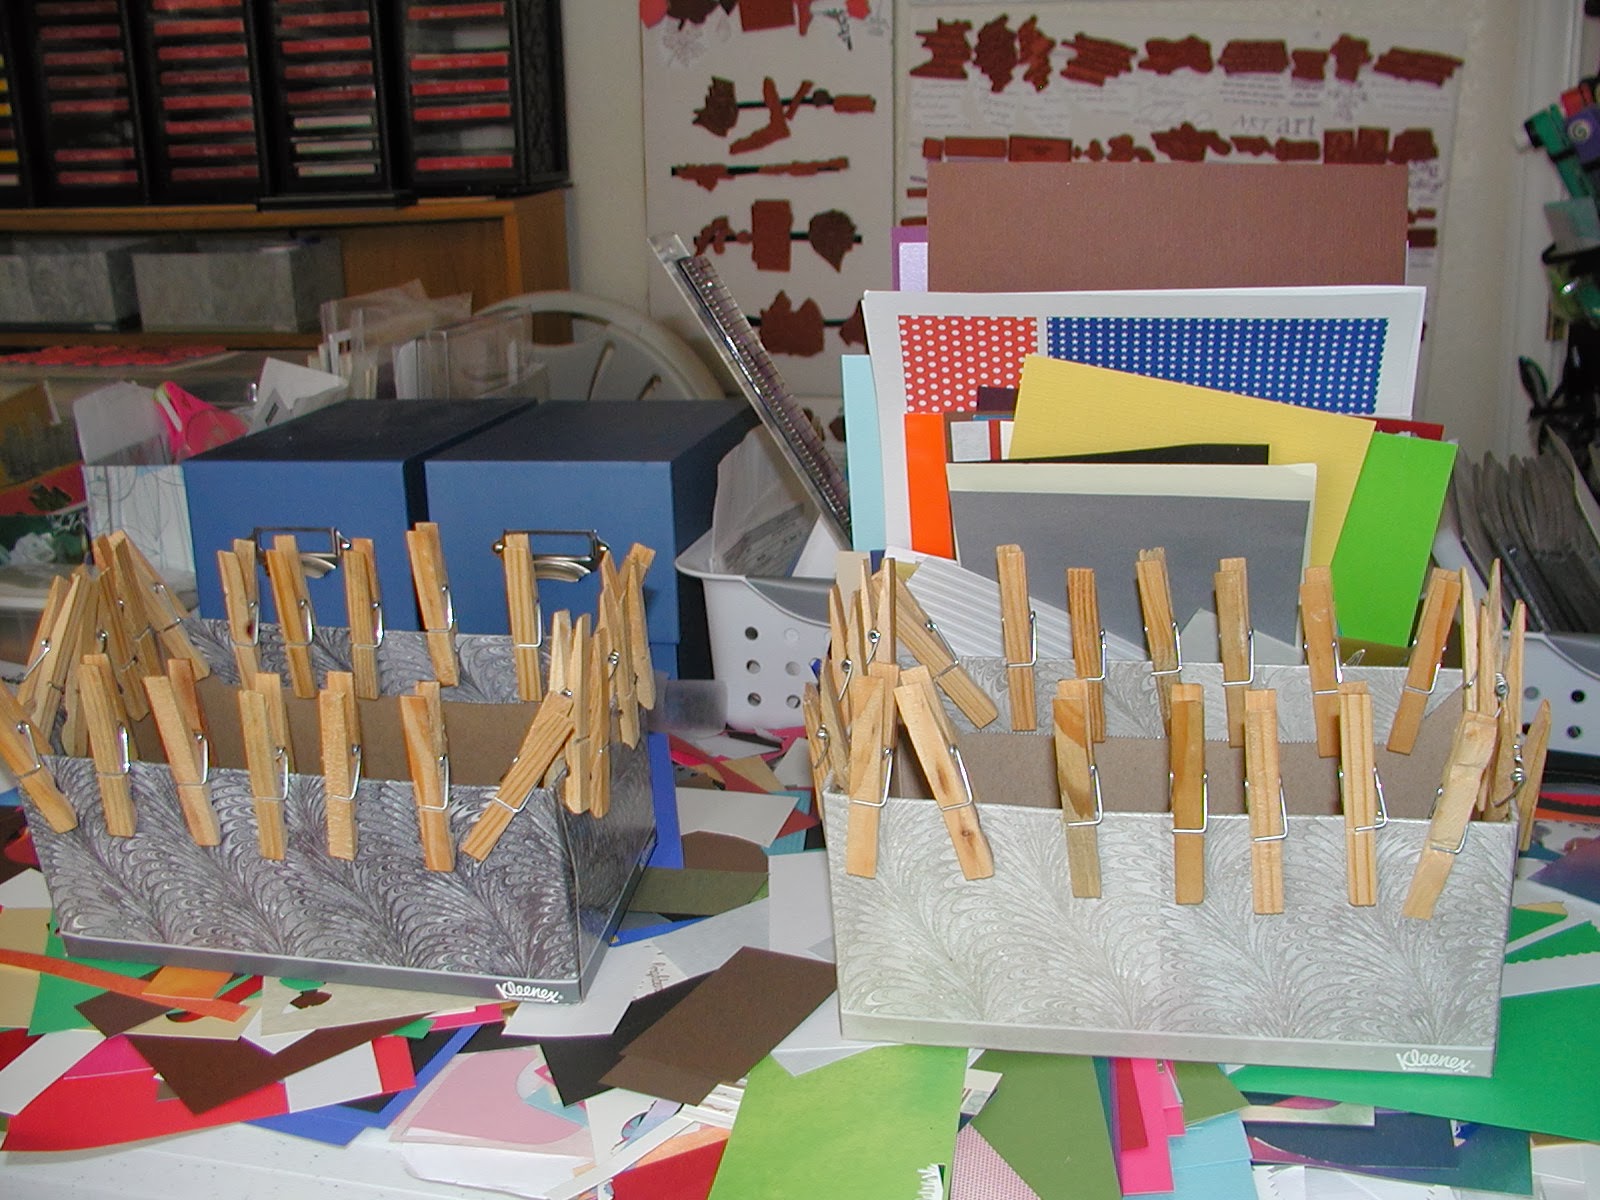
When I get overwhelmed by a problem, I need to try to find a solution.  Since I had lots of paper scraps piled on my table, I needed a place to put them as I sorted them.  The first step was to create some storage containers from some empty Kleenex boxes.  You can see the tutorial HERE.  I have a lot of these for storage, but I needed some empty ones.
When the glue had dried and I could remove clothes pins, I started sorting into the boxes.  I used 4 containers.  Full and large sheets went into the existing container.  Medium size pieces (suitable for layering) went into 2nd box.  Patterned paper had it's own box and those odd shaped pieces (suitable for punches and stamping images) went into the 4th box.
This looked pretty good until I turned around to see where I had stacked stamped images, digi images and die cut papers.  Where to begin with this...